Diablo 4 Season 8 Unveiler’s Oath Reputation Farming: How To Maximize Reputation Accumulation? - 5 Best Methods
Recently, the opening of Season 9 PTR has attracted the attention of most players. Perhaps because of the disappointment of Season 8, or perhaps because of the desire for new seasonal content, players are eager to enter the new season.
However, if you still don’t prepare for the new season content in advance, then this may just be another boring rotation. So, what else can we do in Diablo 4 Season 8 at present?
I think that improving the current Unveiler’s Oath Reputation as soon as possible is the first thing you should do, whether you want to improve the leaderboard ranking to get the tempting Resplendent Spark, or want to brush those Mystery Greater Archetype Caches that can be repeatedly brushed, or even infinitely farm Diablo 4 gold, this can provide. The accumulation of these resources can allow you to get ahead of others when entering the next season!
With these reasons in mind, here we’ll walk you through the best reputation farming routes, how to maximize reputation accumulation, how to turn Spectral Ash into actual progress, and most importantly, how to make every farming worthwhile. So, if you’re ready to quickly increase the ranking cap and accumulate high-value loot, let’s get started!
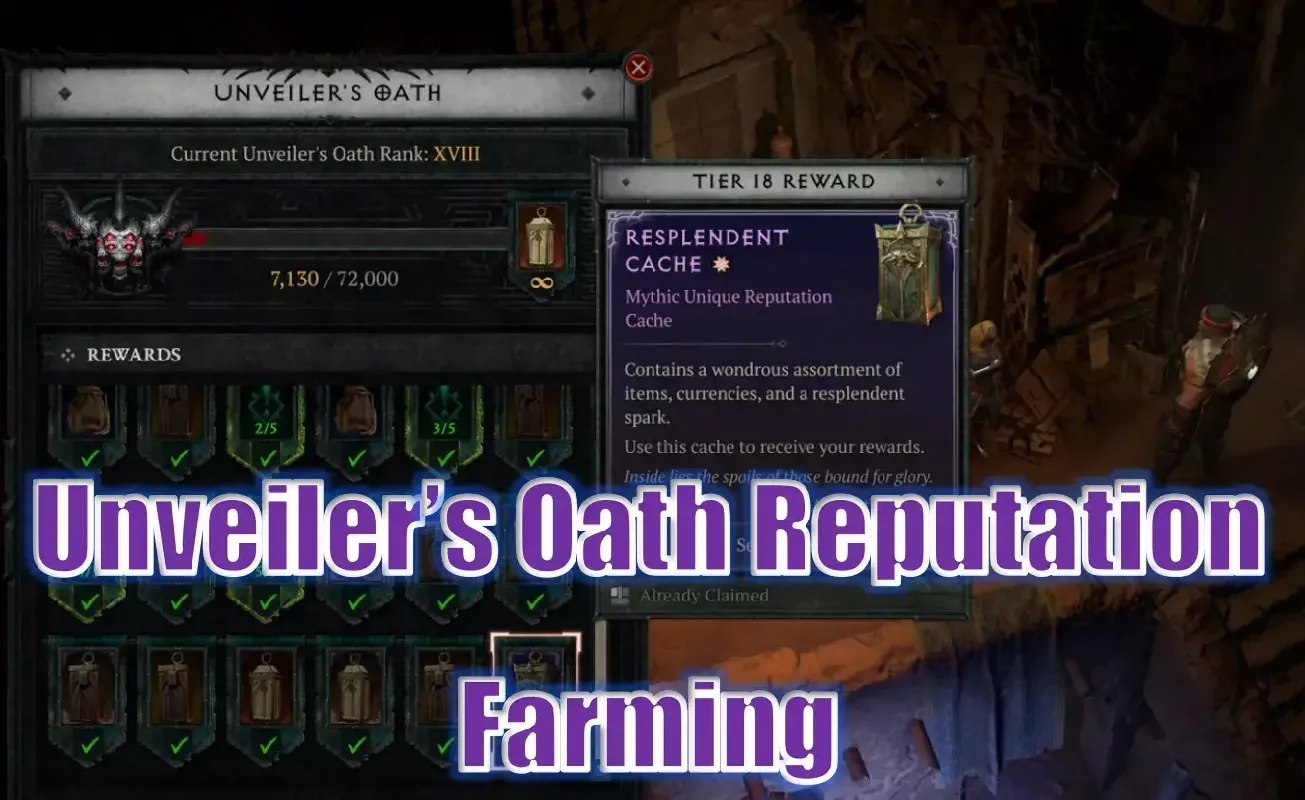
1. Apparition Incursions
So how can we quickly get Unveiler’s Oath Reputation? The first thing to do is to complete Apparition Incursions event. Because it is always active and has no downtime, each run can provide you with 8k-10k reputation.
If you are well-equipped or in a solid team, each run of Apparition Incursions is fast, less than 3 minutes. However, it is not our best choice because even though the reputation it brings is considerable, the endless chasing of monsters will quickly become boring.
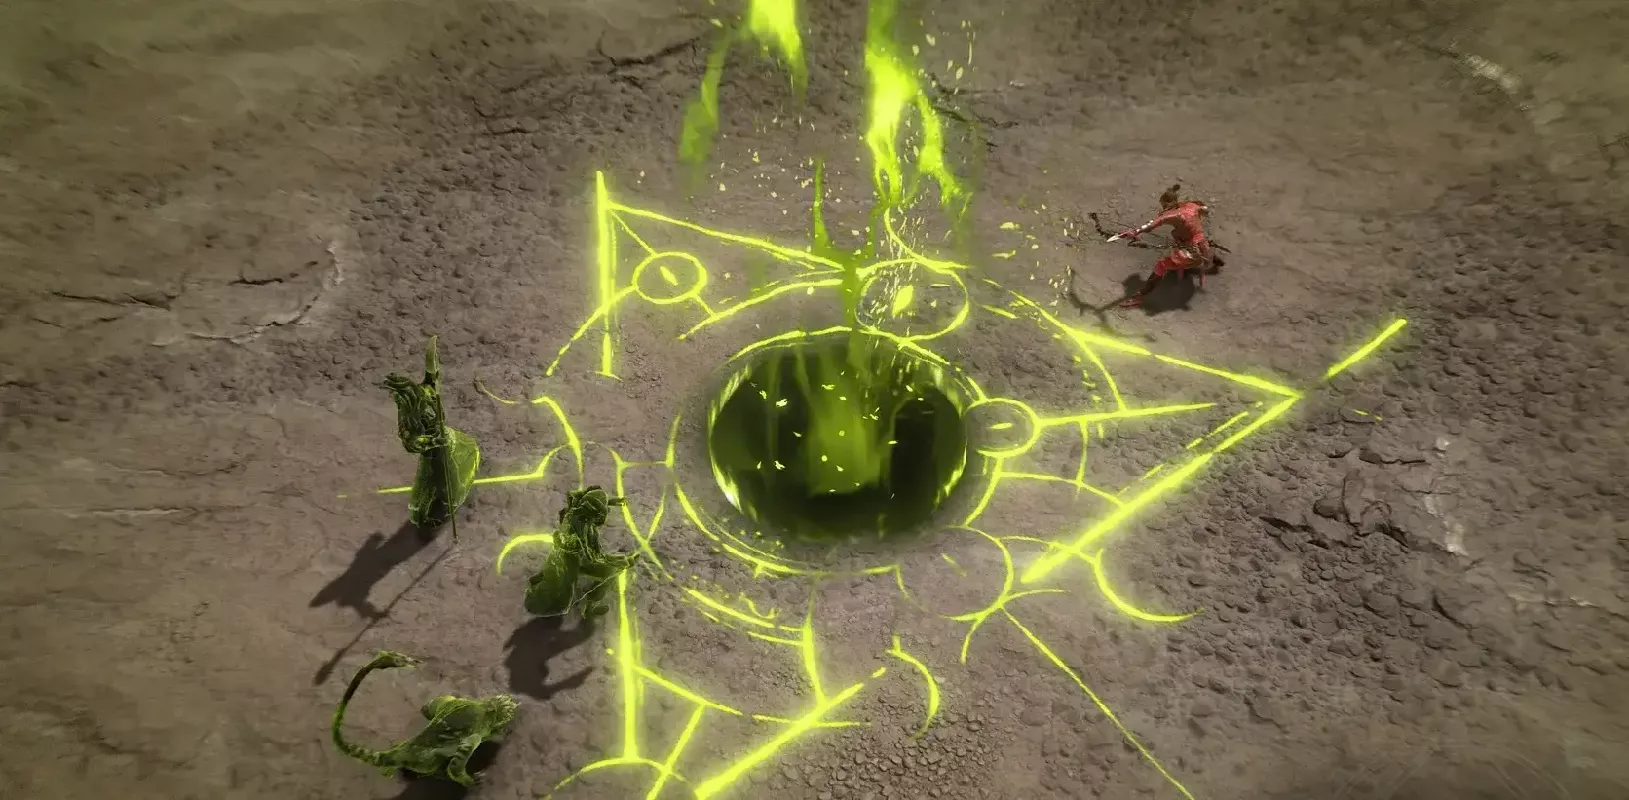
2. Infernal Hordes
Now let’s talk about the best way to farm reputation, Infernal Hordes, this mode has numerous waves of monsters coming at you within a time limit.
Note that most of the monsters you fight here will not give any reputation, the only enemies that will are Lords, Butchers, and the final boss, Fell Council.
Farming Lords
The one problem is that Butchers and Fell Councils can only give you reputation rewards once per round, which is too inefficient. The key to the run is on Lords, and you can farm them multiple times in a single run. In fact, if everything goes well, you can beat up to 28 Lords at once or more. Each Lord will give you 3600 reputation, which can get you over 100,000 reputation in a single run in Torment IV with Season Blessings buff activated!
The problem is, Lords don’t spawn by default. You need to select specific Infernal Offerings during the run to make them appear. If you don’t pick the right Offerings when they appear, you’ll miss out completely, it’s all RNG, so some runs pay out better than others, it’s all luck.
But don’t worry, even if you only get half the rewards for the right Offerings, you can still get 50k reputation by defeating 14 Lords. That’s still a good score.
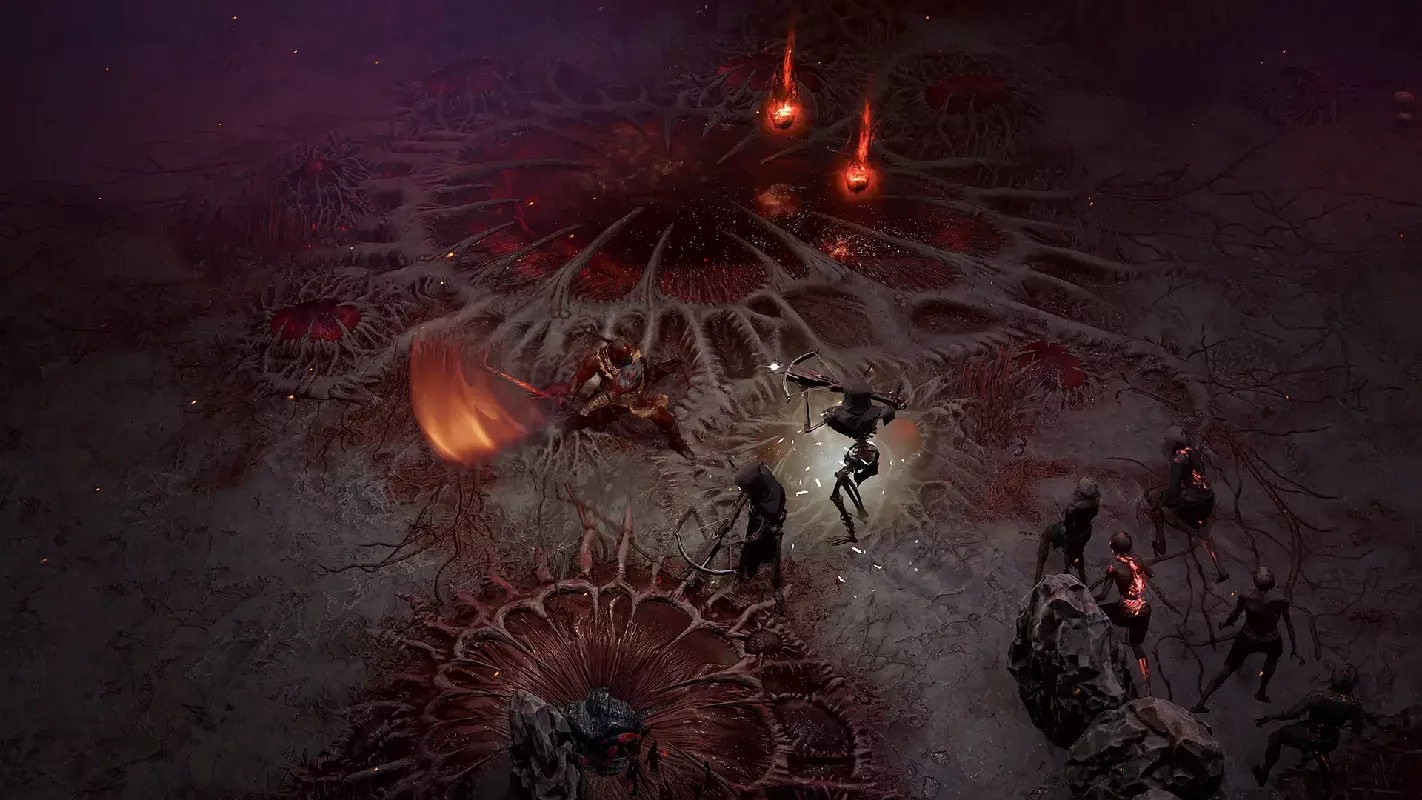
Choosing The Best Infernal Offerings
So how can you maximize your chances of getting a Lord spawn? You can’t just randomly pick Offerings and hope for the best. If you want to farm reputation efficiently, there are four key Infernal Offerings you need to look for, and they are non-negotiable:
- Aether Lords now spawn
- Wave start, spawn an Aetheric Mass
- Masses spawn an Aether Lord on death
- Killing them spawns Aether Events +50% faster
Here’s how it works, Aetheric Masses themselves don’t spawn Lords, but once you have the combo, Masses spawn an Aether Lord on death, now every wave that starts with a Mass will turn into multiple Lord spawns when you destroy it, up to four per wave. Add in the additional Offerings, and you’ll be absolutely drowning in Lords as the waves progress.
Run 10 Waves
Now, if you really want to maximize your reputation, here’s a tip: always run Infernal Hordes in waves of 10. The more waves you play, the more Infernal Offerings you’ll receive, which means more opportunities to stack key Lord spawn options.
More Offerings equals more Lord spawns, more Lords equals reputation coming your way like snowflakes. Trust me, 10 wave runs are where the real value is. Especially if you really want to grind those Mystery Greater Archetype Caches, this is the setup you want.
If you don’t want to farm reputation in repetitive, closed-off Infernal Hordes, there are still plenty of other places where you can get a nice reputation gain.
3. Lair Boss
Next up is Lair Boss, which is easily your second best option. Each Lair Boss you defeat will give you 4,800 reputation. And it gets even better, Belial Ambush will give you 7,200 reputation, and defeating Belial himself will reward you with 12,000 reputation, as well as hundreds of Spectral Ashes. This is one of the biggest reputation boosts you can get.
Now, one thing to note: you don’t get the reward immediately. To get your Reputation, Spectral Ashes, and loot, you need to use Lair Boss Keys to open Hoard Chests. So if you’ve been letting these materials pile up in your inventory, now’s the time to use them.
If your team is strong and you can melt a boss in under 3 seconds, you can quickly cycle through these and gain reputation from Boss Hoard at an insane rate.
4. Dungeons
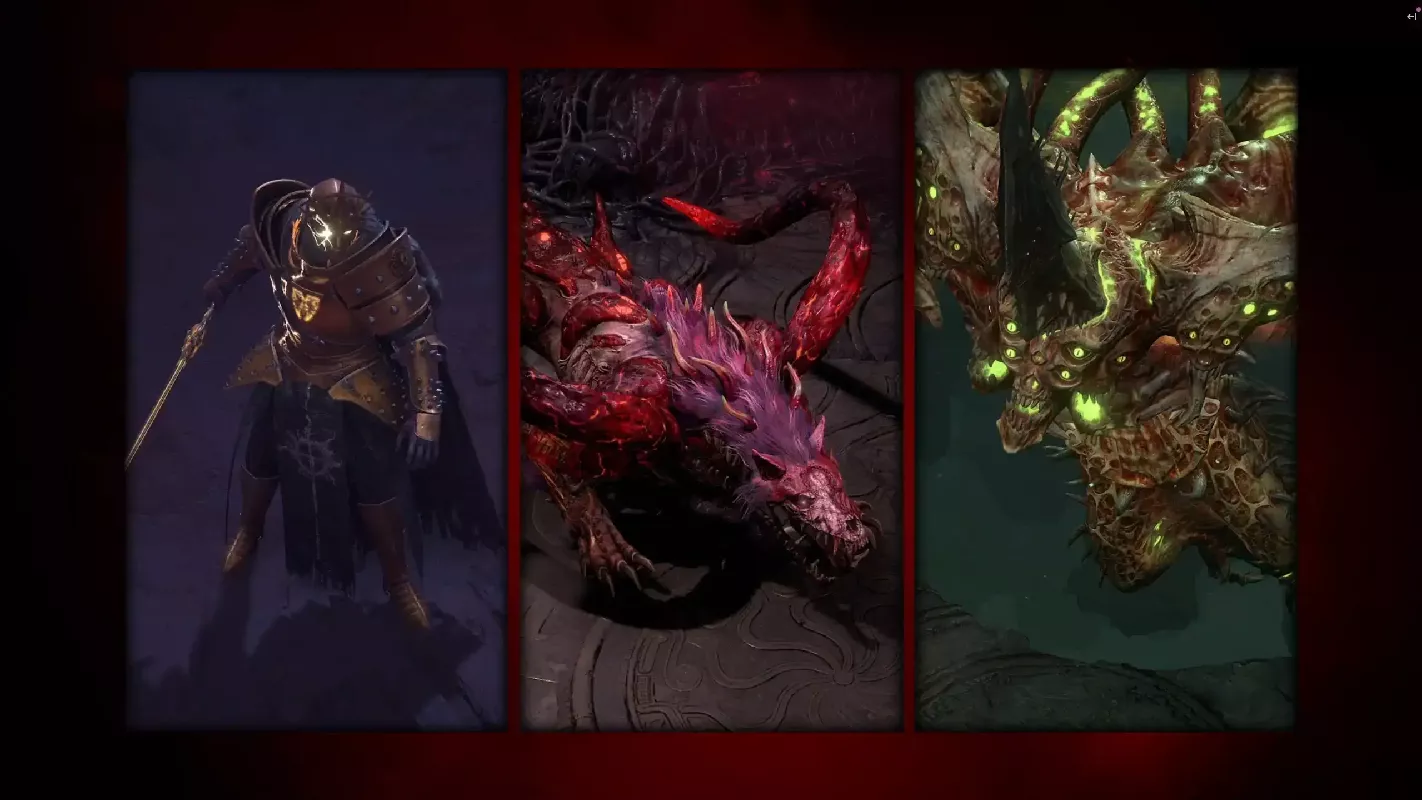
Now let’s look at some other ways to gain reputation in the game, keep an eye out for Seething Abomination, it drops 3600 reputation after defeating it, and it kills super fast.
Then you have The Pit, Kurast Undercity, and Nightmare Dungeons, each of which will give you 3600 reputation after completing it. They take a few minutes to complete, so they’re not very efficient for pure reputation accumulation. But if you’re already here for Gold, XP, Glyphs, Tributes, or Obducites, then take the reputation as a bonus.
5. World Bosses
Finally, let’s talk about World Bosses. These big fights only come every 3 hours and 30 minutes, but they’re definitely worth the wait, as defeating one boss can earn you up to 9,600 reputation. So, if you’re online when a World Boss is about to spawn, don’t miss it. This can be a tremendous boost to your Unveiler’s Oath Reputation, and is a surefire way to complete your farming route.
Conclusion
All in all, if you want to farm Unveiler’s Oath Reputation quickly, your best bet is, without a doubt Infernal Hordes. You just need to stack up those Offerings that make Lord spawn, run 10 waves, and watch the reputation roll in. If RNG is on your side, you can even get up to 100,000 reputation in a single run.
Whether you’re grinding gear, stacking Resplendent Sparks, or just trying to maximize your time to get ready for Season 9, these reputation farming tips will get you there as quickly as possible! Good luck!
May-27-2025
-

Diablo 4 Season 7 Whisper C ...
Hello Wanderers, are you looking for the best way to collect Gem Fragments in Diablo 4 Season 7 to have more chances to craft Grand Gems and Occult Gems to optimize your character? If yes, then it’s time for this guide to come into play. Here, we will show you the fastest way to farm Whisper Caches to take your gameplay to the next level! Why Should You Collect Whisper Caches? First, we will dive into the most efficient way to collect Whisper Caches. In fact, when collecting Whisper Caches, you are also collecting Gem Fragments. In essence, you are collecting multiple valuable resources at the same time! These include Boss Summoning Materials, Legendary Gear, Greater Affixes Gear, Tributes, Uniques, Gold, Crafting Materials, Scattered Prisms, Runes, Restless Rot, XP, and more. Additionally, Whisper Caches can be used to upgrade another character to level 60 in less than 1 minute, making it an extremely efficient resource for gear and upgrades as well! Remember that Runes are only available if you have Vessel of Hatred expansion. But don’t worry, if you don’t have the expansion yet, you can still make the most of these farming strategies! Preparation Before you start running Whispers Bounties, it’s best to prepare in advance to maximize your efficiency. Therefore, I recommend equipping boots, amulets, or any gear that increases your movement speed, the higher the better, which will help you reduce your travel time and allow you to reach your goals more efficiently. If you don’t have any gear that increases movement speed, you can use Citadel Coins to get Elixir of Tailwind from Dark Citadel Vendor, which will increase your movement speed by 15%, helping you farm faster. Be sure to bring some Incense and Elixir to increase your XP and bonus stats, especially if you haven’t reached Paragon Level 300 yet. Since you’ll be leveling up while farming, this will help you progress faster. Don’t forget, it’s a good idea to keep some Whispering Keys in your inventory, as you’ll come across many Silent Chests in Headhunt Zones. These chests require a Whispering Key to open, which you can redeem from Purveyor of Curiosities for 10 Murmuring Obols each. Having a key on hand will save you from constantly teleporting back to town when you find Silent Chests. These chests may contain valuable loot, including Diablo 4 Gold, Legendary gear, Gem Fragments, and more. Complete Whispers Bounties To get Whisper Caches, you need to complete Whispers Bounties and collect 10 Grim Favors. There are tons of Bounties scattered throughout Sanctuary, but one of the best places to collect them is in Headhunt Zones, where you can easily get over 20 Grim Favors simply by completing Bounties in that area. However, not all Whispers Bounties are worth running, some take a long time to complete, and some offer fewer Grim Favors, making them inefficient. In order to maximize your rewards in the shortest possible time, you’ll want to focus on the most efficient Bounties that offer the highest return on investment. For Headhunts, 1 Red, 6 Light Red, and 6 Pink Bounties are spawned per zone, with 3 Headhunt Zones total, each with a different start time and lasting 40 minutes. Red Bounties reward 5 Grim Favors upon completion. Light Red Bounties reward 3 Grim Favors each. Pink Bounties only offer 1 Grim Favors and are generally not worth running because of the low return on time investment. However, Slay Bounty is an exception, and it only requires you to defeat 2 Thralls of Rot to complete. These enemies are represented by red skull icons on your mini-map, and you’ll naturally encounter them while completing other Bounties, making this a quick and easy Bounty. For Light Red Bounties, you should ignore Wisps and Patrol as they take longer to complete, but if you notice another player is about to complete a Wisps Bounty, you can jump in at the last minute so you can get free Grim Favors without much effort. Scour Bounties, on the other hand, are fairly easy, you just need to collect 7 Herbs in Headhunts and then find a Scouring Cauldron to defeat Elite and complete the quest. To speed up the process, I highly recommend hiring Subo as your mercenary, as he can reveal all enemies and materials in the area, making it easier to find them quickly. To optimize efficiency, tackle this Scour Bounty while performing other Bounties to save time. You can efficiently complete three Light Red Bounties: Harvest, Purge the Rot, and Shepherd, and one Red Bounty, Fugitive, which rewards 5 Grim Favors, in a brief time. Always start with Shepherd, and while completing Shepherd, you will naturally complete both Harvest and Purge the Rot at the same time. Once Shepherd is completed, Exposed Roots will appear nearby. Interacting with them may trigger an Uprooted Cocoon, spawning a Headless Husk or Fugitive Head, and even if not, they will drop valuable loot, including Gem Fragments, and even spawn Treasure Goblins. Almost everything you kill in Headhunt Zones has a chance to drop Gem Fragments, and even Silent Chests can contain them. This is why it’s important to keep some Whispering Keys in your inventory at all times. If an Uprooted Cocoon appears, quickly eliminate the boss before completing the remaining bounties. Alternatively, you can also join an Uprooted Cocoon summoned by another player to complete the bounty faster. You can complete all of these bounties in under 10 minutes, earning 20 or more Grim Favors per run. This means you can claim one or two Whisper Caches per run. Bonus Tips After completing a zone’s quests, head to another zone and repeat the process until you’ve collected enough Whisper Caches and Gem Fragments. Always start with the zone with the least time remaining to complete as many bounties as possible. Then, head to the other two zones and complete their quests before the bounties reset. During your collection, prioritize picking up valuable loot, focusing on Legendary, Unique, and Greater Affixes gear. If you already have enough materials and gold, you can even skip picking up excess Legendary gear to reduce the need to return to town as often. This will help you minimize downtime, maximize efficiency, and farm longer without unnecessary interruptions. Also, always have your Whisper Caches open at a vendor near town so you can quickly sell, salvage, or store your loot. This keeps your inventory organized and prevents clutter, ensuring you can be ready for your next farm without delay. If you complete these bounties at lightning speed before the three Headhunt Zones reset, you can use the downtime to tackle noteworthy Red Bounties outside of Headhunts, including: World Bosses, Uber Bosses, Blood Maiden, Seething Abomination, Kurast Undercity, The Pit and Dungeons. These activities only take a few minutes to complete, making them a great way to maximize efficiency while waiting for Headhunts to reset. Collecting Whisper Caches efficiently is one of the best ways to stockpile Gem Fragments, Greater Affixes Gear, Legendary Items, Gold, and Crafting Materials while also earning a ton of XP. By optimizing bounties within Headhunt Zones, you can complete all high-value bounties in under 10 minutes and earn 20+ Grim Favors per mission. That’s all for this Whisper Caches collecting guide! By following these strategies, you can collect efficiently, maximize your loot, and power up your character faster. Happy hunting!Feb-17-2025
-

Diablo 4 Season 7 Quake-HOT ...
The exciting Diablo 4 Season 7 has finally arrived. Are you ready to face all the challenges and threats brought by the new season? In addition to the necessary consumables such as sufficient gold coins and items, a qualified construction plan is also a necessary preparation for starting a new season journey. Here, we will start to introduce a Quake-HOTA Barbarian Build that is very powerful in Season 7 in the future. The core of this build is the new Chest Armor, which allows us to make Earthquakes explode through Hammer of the Ancients. As early as on PTR, we can clearly feel that the damage potential of Earthquake in the new season is slightly higher than HOTA itself, so this build is also more focused on Earthquake damage. However, with the new body armor and gloves, you can also reach a Hammer of the Ancients skill level of more than 50 points. So it also has a variant that focuses on HOTA damage, and in theory you can even try to create a balanced combination of the two. How to build it depends on your game style. Skill Tree Let’s start with the skill tree. First, HOTA and Whirlwind, one point each. Damage scaling is crucial for Hammer of the Ancients, as it increases all the damage we deal, and overpower hits will happen quite often. Alternatively, we can also take the passive skill below, Warpath, and use Iron Skin as our only defensive skill, which will provide additional damage reduction and make Aspect of the Iron Warrior unstoppable. Then we have War Cry and Leap, each Leap will generate additional Earthquakes. And Aggressive Resistance will provide some nice protection. Since we will always apply Berserking in Weapon Mastery Cluster, it has very good synergy with some of the passive skills at the bottom of the skill tree to increase our Earthquakes damage. Finally, we also need Key Passive, Unconstrained. For the pure HOTA variant, maximizing HOTA effect is of course a no-brainer, and at the same time, we also need to invest 3 points each in Heavy Handed and Brute Force. For both variants, we choose Two-Handed Axe Mastery and use a one-handed weapon to perform all other attacks except Hammer of the Ancients. Paragon Board Next, let’s look at Paragon Board system. For the starter board, we chose Challenger Glyph. Here we have a weapon aspect that increases our Earthquake damage proportional to our Strength value. So we want to stack as much as possible on Paragon system and equipment. On equipment, Force Of Nature is a must-have for an Earthquake build. So for Legendary nodes, we stack damage to close enemies on equipment. Meanwhile, on this board, we also light Dominate for continuous powerful attacks. Next up is the classic Blood Rage Dominate board. Like we said before, we also continuously stack Berserking, so we can get a double damage bonus here. In addition, there is Paragon Glyph, Rumble, which is the most important Glyph regarding Earthquake damage, so there are a lot of Strength nodes on this board to maximize its effect. Then there is Decimator board, which also provides a solid damage bonus, depending on whether we need more Berserking damage or damage to close enemies. The last board is Bone Breaker, which provides an additional vigorous attack, which will not only increase our damage but also generate additional Earthquake on this board. However, since we already use Exploit Glyph for a pure HOTA build and want to use Weapons Master board with Crusher and Wrath Glyph, we will abandon Force Of Nature and the last two glyphs. Equipment For the necessary equipment required for this build, the first thing we mention must be Ugly Bastard Helm. Because it converts all our direct damage into fire damage and then provides a significant bonus to all our fire damage. In addition, the new Mantle of the Mountain’s Fury is also a good unique Chest Armor choice. Because we always want a higher chance to deal double Earthquake damage, and the unique item effect causes Earthquake to explode, dealing all the damage in one burst. That’s why we definitely want to increase Earthquake duration, because longer duration means more damage from the explosion. For gloves, we used Earthstriker’s Runic Gloves. To be honest, HotA rank isn’t as important as the extra Strength and Temper here. So we prefer to choose a gear that deals more damage to close enemies and has more Earthquake size. Of course, you can definitely choose other gear, depending on how much Diablo 4 Gold you have. Then we equipped Aspect of the Iron Warrior on the pants, and Temper determines Earthquake size and Iron Skin cooldown. Additionally, since we need Fury per second to make sure our resource management works on Amulets, we use Aspect of Bul-Kathos, which makes our Leap generate additional Earthquakes and provides additional damage reduction when standing in an Earthquake. New Patch Buffs Thanks to the new patch, we also get a powerful damage multiplier that scales with Strength stat. So that’s why we stack so much Strength to easily reach over 1,000% damage bonus. Of course, Temper to maintain the duration of Earthquake and damage to melee enemies are also important. Items Needed For Pure HOTA Variant For the pure HOTA variant, we want to add as many ranks as possible, so we have different priorities here. For equipment, we chose Banished Lord’s Talisman, Ring of Starless Skies, and Ring of Red Furor. In the meantime, because we also want to stack strength and critical strike damage here, different weapons are also needed. You can add Grandfather Unique Two-Handed Sword to this setup, insert Runewords into the armor pieces, and fill the weapon with red gems to deal more overwhelming damage. If you need more good equipment to optimize your build, then you might want to follow iGMeet Discord, where some giveaways from time to time may allow you to get some free resources. Final Thoughts In short, the above is all for this guide. Because this build has only been tested on Season 7 PTR so far and still needs to be patched and optimized, Quake-HOTA Barbarian Build you use must be much stronger than what you see so far, and you can customize it to your play style. However, keep in mind that when playing this build, the biggest damage comes from Earthquake, otherwise you can also try pure HOTA Barbarian, which is also fun and should be able to run high-level Pit. Let’s look forward to this build making Barbarian class shine in the new season!Jan-20-2025
-

Diablo 4 DLC: How To Comple ...
Strongholds have returned to Diablo 4 Vessel of Hatred and are still exactly the same as you would expect. There are three Strongholds spread across Nahantu. Strongholds were a feature introduced when Diablo 4 first launched. Once these small dungeons are completed, they permanently change the map. After clearing all enemies, you will not only gain 100 reputation, but also unlock further waypoints, side quests, or dungeons. This guide will introduce the three Strongholds in Diablo 4 Vessel of Hatred. Chakhir Chakhir is located to the west of Seven Stones. The main quest for this Stronghold is to clear the slag and discover the source of the poisonous magic that enhances it. First, you need to find all the brewing cauldrons and destroy them. Some cauldrons will be protected by enemies called Cauldron Keepers, which you will need to kill to remove the protective barrier before you can destroy the cauldron. Additionally, you will come across some cauldrons that can only be destroyed after removing Befouled Briars. After dealing with all the cauldrons, head to the middle area of Stronghold and prepare to engage Darm. Be sure to watch out for the flowers on the ground during the fight, as standing on them will cause them to explode. After defeating Darm, go into the middle room and destroy the four Falo Blooms to summon Sinerat and Skerg. Watch out for the flames and exploding flowers on the ground when dealing with these two bosses. Once both bosses are defeated, go to Wanderer’s Shrine and interact with them. After completing Chakhir, you will be rewarded with 100 Renown and some Diablo 4 Gold. Kichuk Kichuk is located on the northeastern edge of Teganze Plateau. This Stronghold mission is to clear out Lacuni that is attacking Kichuk. Besides dealing with Lacuni as you encounter them, your first task is to free the villagers from their cages. Once all the villagers are rescued, reunite with the survivors and then fight off the wave of Lacuni attacks. To prevent the village from further invasion, you need to go through the caves and destroy the pillars. As you destroy the pillars, more powerful lacuni will attack you. Once you have destroyed all the pillars in the cave, you need to run back to the entrance as quickly as possible before the timer runs out. If you don’t escape in the allotted time, you will be damaged by a large amount of falling rocks. Once you return to the village, head to the circled location on the mini-map to find the leader of this Stronghold, Kirma. When attacking it, you need to pay special attention to two things. When you deal enough damage, it will transform and restore all health. In addition, Kirma will disappear and reappear periodically. To make it easier to defeat Kirma, you can follow Giveaway channel on iGMeet discord for information about Diablo 4 related products and stay active in the discord group. After completing Kichuk, you will not only receive 100 Renown as a reward, but also unlock a waypoint. After defeating the boss, you can go to the shrine. Festering Dark Compared to the other two Strongholds, Festering Dark is more complicated because of its unique mechanics. The goal of this level is to bring lanterns to braziers throughout Stronghold and light them. Festering Dark is located in the southern part of Restless Canopy, and only one of the two entrances will be available until you complete Strongholds. Once inside, you’ll see a lantern on the ground. If you accidentally lose your lantern later on the mission, you can regain it by activating a rune. While you’re holding the lantern, you won’t be able to attack. Pressing any button will cause the lantern to fall to the ground each time you’re attacked, and you can pick it up again after the fight. Each time you light a brazier, the lamp will begin to move automatically. You’ll need to follow it as it leads you to and destroy some obstacles, then continue on to find more braziers. As you light more braziers, more areas of Stronghold will gradually open up. When you successfully light enough braziers, Vesicator will appear, but this mini-boss doesn’t have particularly dangerous attacks. Eventually, you’ll enter a new area called Gates of the Necropolis. After lighting the braziers in this area, be prepared for a fight with Maleficium. During the fight with Maleficium, the giant red circle that appears on the ground and the lines that form on the battlefield will cause a lot of damage, and Maleficium will only be damaged when it is in the light. There are five lit braziers in the game, giving players some room to maneuver. However, when Maleficium’s health drops below 50%, it will extinguish all braziers and become completely invincible. At this time, the player needs to quickly run under the lamp, find a brazier that is not covered by dark energy and light it. Then, continue to attack the boss after it enters the light. Finally, eliminate the remaining health of Maleficium and use the shrine to clear Stronghold. After completing Festering Dark, you will receive 100 Renown, unlock Betrayed Tomb dungeon and Gates of the Necropolis Waypoint. Hopefully, the above content will help you better deal with these challenges. Good luck!Oct-07-2024
-

Diablo 2 Resurrected: 5 Bes ...
Diablo 2 Resurrected has brought back the nostalgia of the classic game and with it comes the excitement of discovering and crafting powerful items, including the much-coveted Runewords. These powerful items require the right combination of runes and sockets, and can provide incredible bonuses to your character's stats and abilities. Here are the top 5 Runewords worth crafting in Diablo 2 Resurrected. 1. Enigma - Jah + Ith + Ber Enigma is one of the most iconic and powerful Runewords in Diablo 2 Resurrected. This Runeword provides the "Teleport" skill, allowing you to quickly navigate through maps and bypass obstacles. Additionally, Enigma provides massive boosts to your character's stats, including +2 to all skills, +45% Faster Run/Walk, and +1 to Teleport. 2. Call to Arms - Amn + Ral + Mal + Ist + Ohm Call to Arms is another powerful Runeword that provides the "Battle Cry" skill, which can be a game-changer in tough battles. The Runeword also provides massive boosts to your character's stats, including +1 to all skills, +40% Increased Attack Speed, and +250% Enhanced Damage. 3. Spirit - Tal + Thul + Ort + Amn Spirit is a popular Runeword among spellcasters, as it provides massive boosts to mana and faster casting speed. Additionally, Spirit provides +2 to all skills and +55% Faster Hit Recovery, making it a great choice for any character build. 4. Fortitude - El + Sol + Dol + Lo Fortitude is a Runeword that provides massive boosts to your character's defense and damage output. It provides +200% Enhanced Damage, +300% Enhanced Defense, +25% Faster Cast Rate, and +15% Chance to Cast Level 1 Chilling Armor when Struck. 5. Infinity - Ber + Mal + Ber + Ist Infinity is a Runeword that provides powerful bonuses to elemental damage, making it a great choice for sorceresses and other elemental-based builds. It provides +50% Faster Cast Rate, +250% Enhanced Damage, and +55% to Lightning Resistance. Crafting these Runewords can be a challenging and rewarding experience in Diablo 2 Resurrected. While they require specific combinations of runes and sockets, the power and bonuses they provide make them well worth the effort. So, start collecting those runes and sockets and craft the perfect Runeword for your character today.May-17-2023


